Kubernetes Development with Red Hat OpenShift Local
Developing applications, services, and solutions for Kubernetes is no easy task. With a constantly changing landscape and releases three times a year it can be daunting to create a sane local environment for testing and development.
If your production environment includes Red Hat OpenShift, then you’re in luck because today we tackle how to set up OpenShift locally.
You can watch the video or read below to get going.
Prerequisites:
MacOS/Linux/Windows
Red Hat Account
You’re favorite terminal
Tools:
Help:
Instructions:
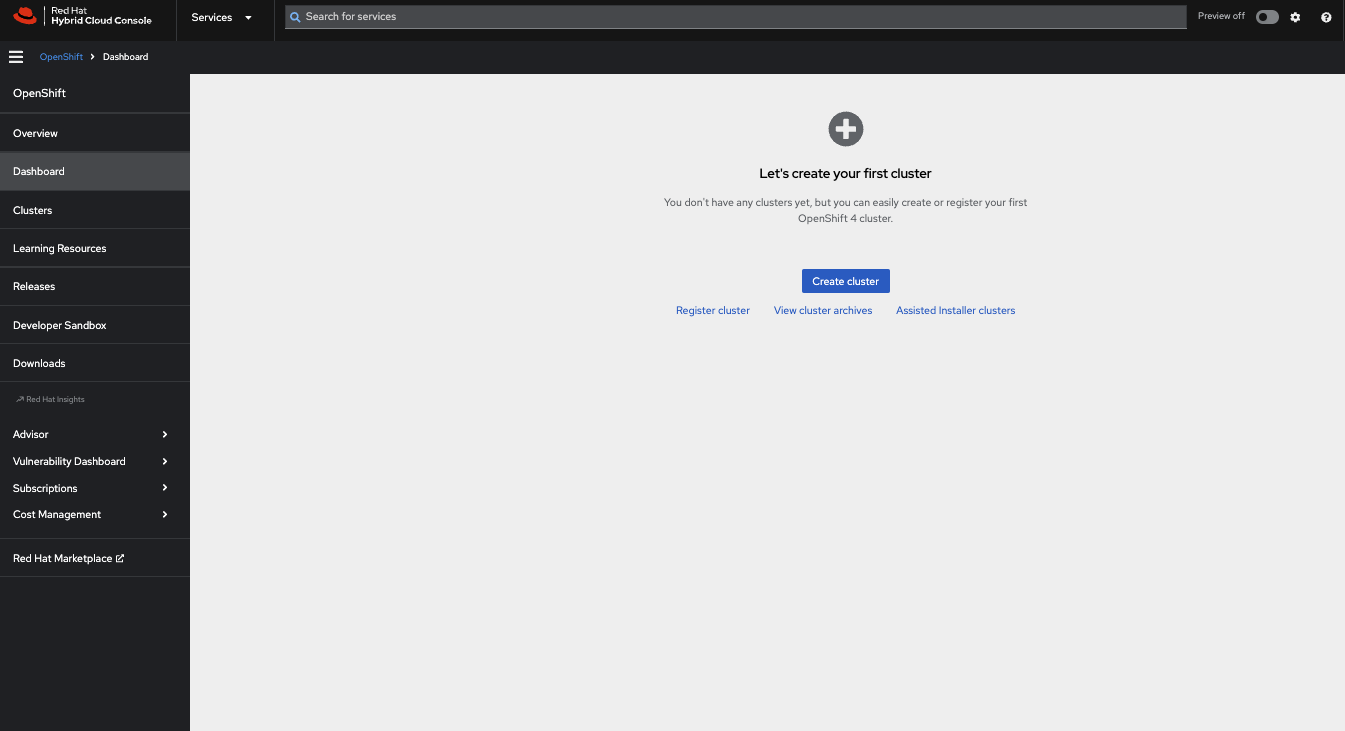
Login to console.redhat.com
2. Click Create Cluster
3. Choose Local as the cluster type
4. Select Windows, MacOS, or Linux. *For MacOS choose x86 if you’re still running Intel-based macs or aarch64 for Apple Silicon ie M1 or higher Macs.
5. Click Download OpenShift Local and Download or Copy pull secret
6. After the download has completed run the installer to install OpenShift Local.
7. After the install is completed, open the terminal and run $crc setup and $crc start after setup completesCongratulations!!! Your local OpenShift single node “cluster” is now up and running. You can access it via the web console listed in the terminal.
To deploy k8s resources via the command line, run the ‘oc’ commands listed in the screenshot.
Lets hook it up to VSCode,
If you don’t have VSCode get it and the following extensions too:
Once both have been installed you should see our local cluster on the left side of the OpenShift Toolkit under the application Explorer
Now that our RHOS Local Kubernetes development environment is set up you can start pushing code to this cluster and tune it accordingly to match the resources in your dev and production environments.
If you found this how to helpful and added value then please share it on all social media platforms.


